The backupbuddy has long been used as a brilliant tool for transferring a website from one location to another. Now with the BackupBuddy Stash storage service it has made setting up a new website from a backup even easier and much faster than ever before. Previously you had to download a backup copy of a website, then re-upload it to the new web hosting. Now the cloud based backup can be sent to the cloud based hosting without you needing to be the middle person anymore.
This can be needed for a number of reasons:
- relocating to new web hosting
- for web developers – moving a staging site to the live site url
- rebuilding after a site has been compromised / hacked
- restoring after the web host has lost a server (unusual but can happen especially if you bought it from a smaller operator)
Setup iThemes BackupBuddy Stash account
Install BackupBuddy plugin
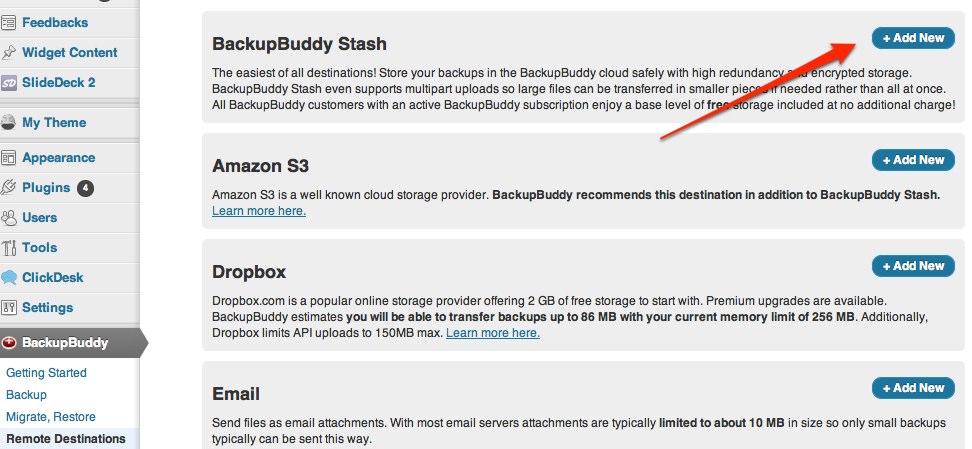
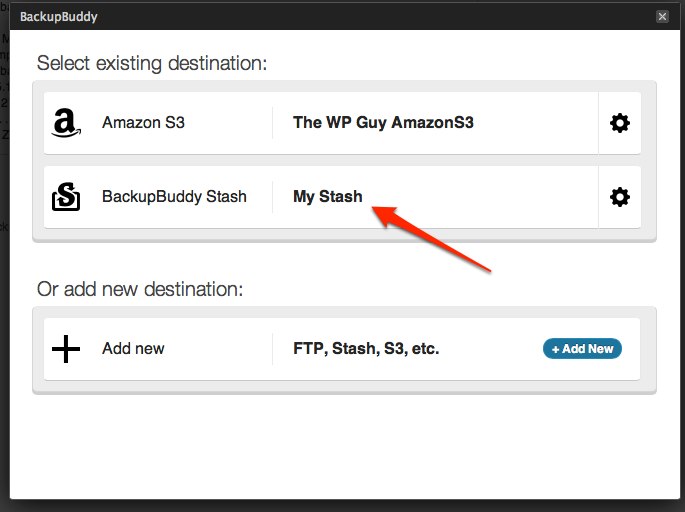
Add a new destination via backupbuddy on the website you are copying which we’ll call Site A
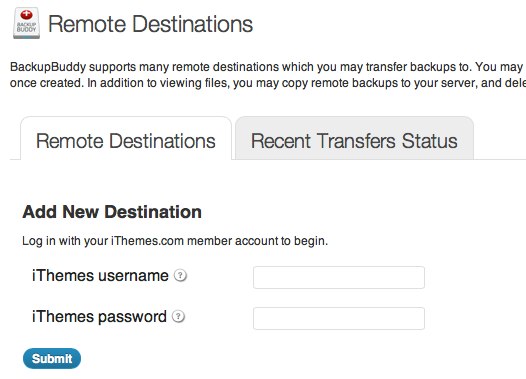
Add BackupBuddy Stash account details
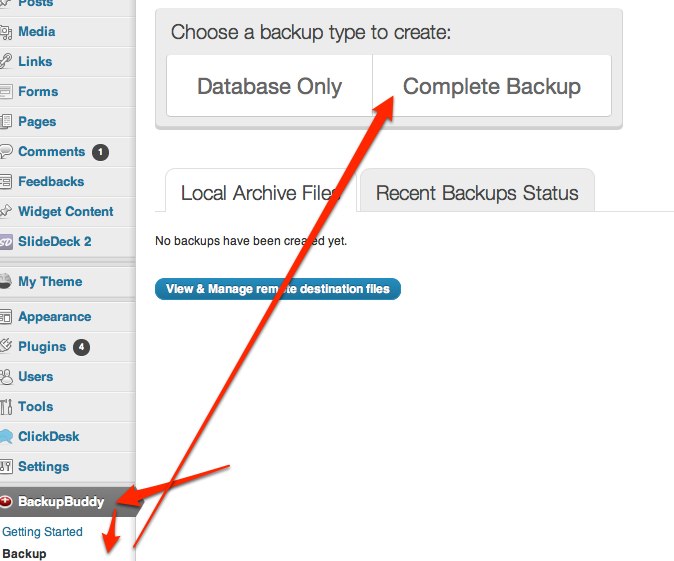
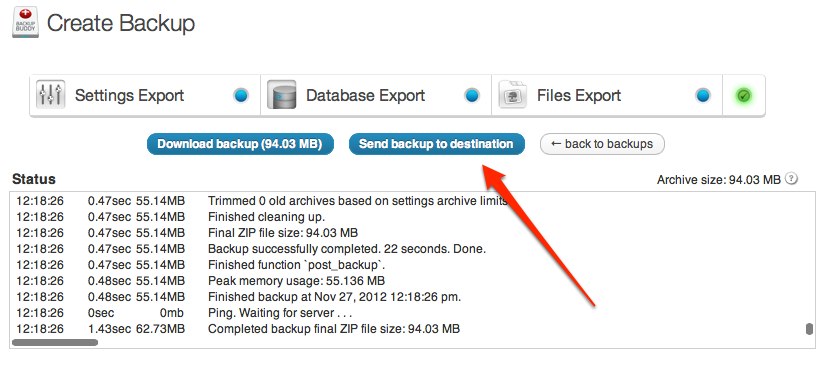
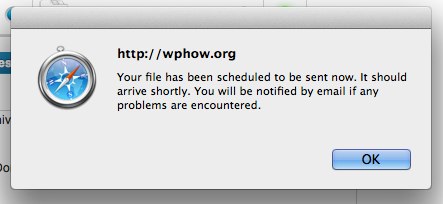
Make full backup of Site A
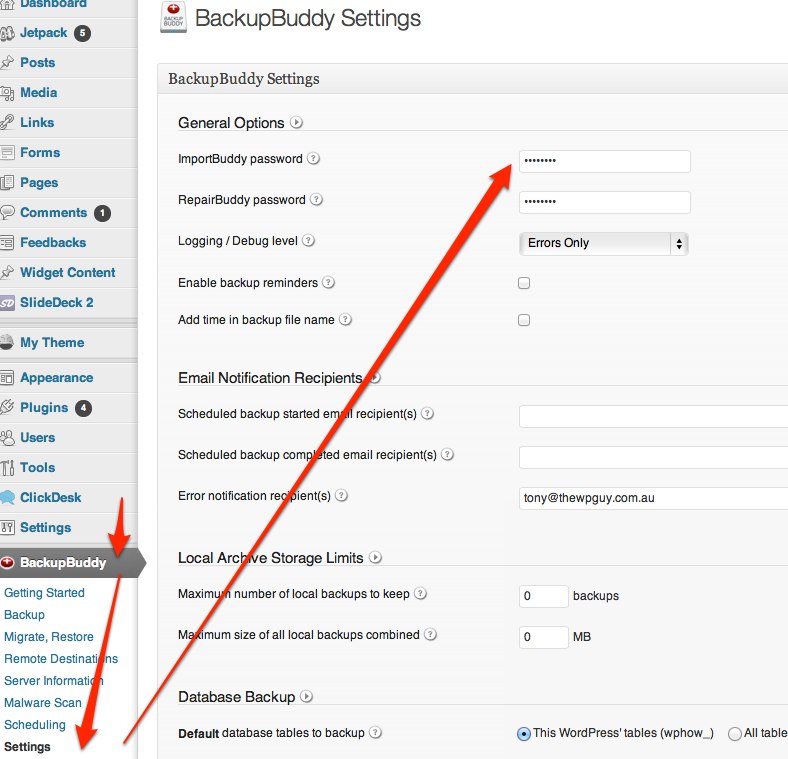
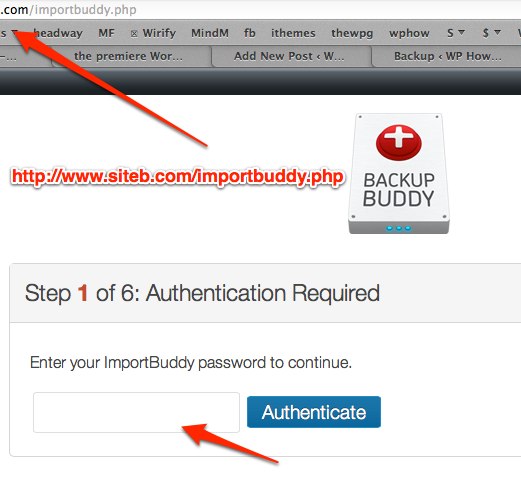
Setup importbuddy password
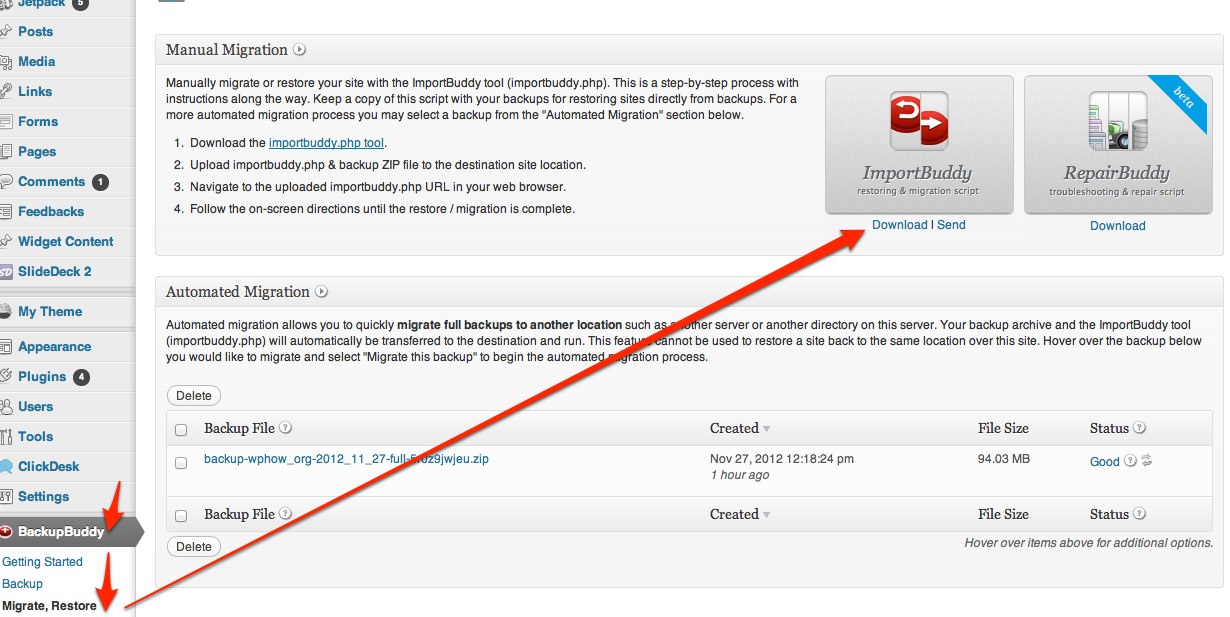
Download importbuddy.php file to your computer
Upload importbuddy file to Site B folder where the website will be installed
Enter in the following address to you web browser: http://www.siteb.com/importbuddy.php
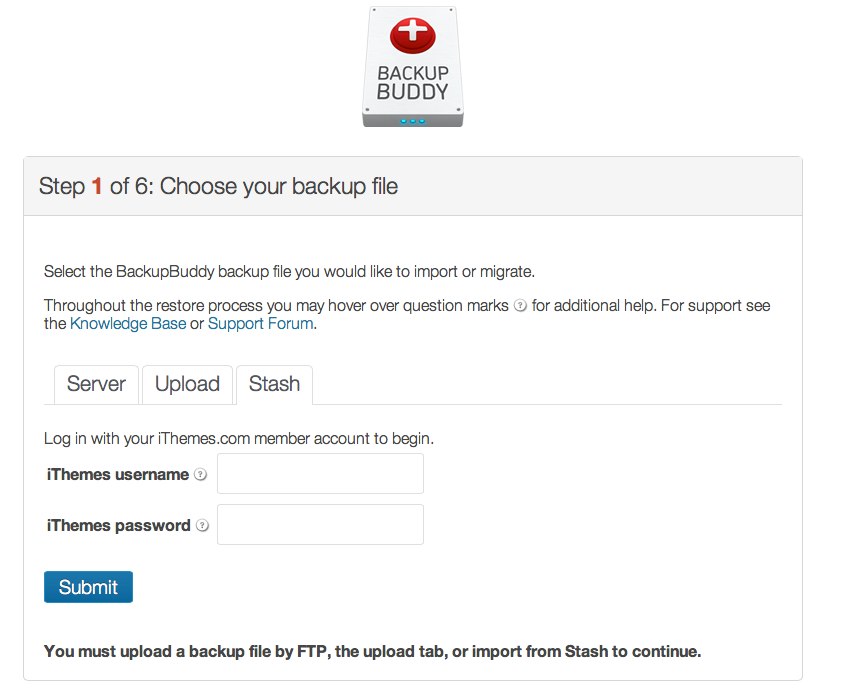
Select Stash option and enter BackupBuddy Stash account details
Select backup made from Site A previously
Now wait a minute or 2 for the backup to be copied from Stash to your SiteB hosting (maybe more for larger sites)
You will see the message below when its done.
Files will now be unzipped for you.
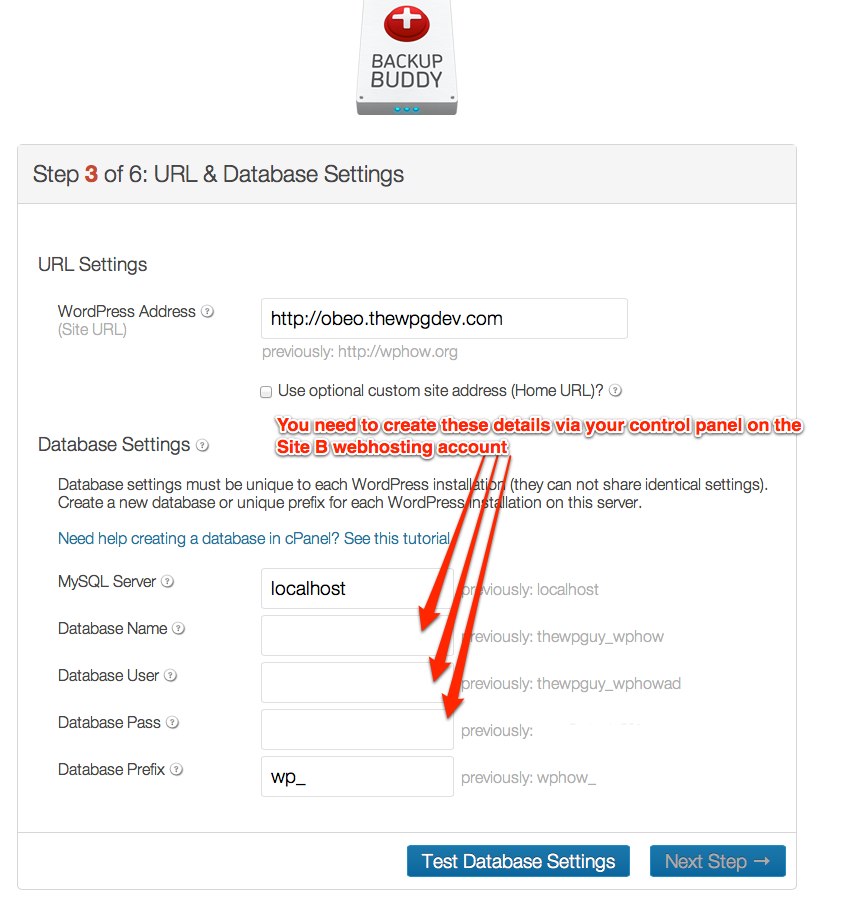
Finally add the database name, username and password that you will need to create via the control panel of the Site B web hosting
I’ve been building WordPress websites for over a decade, spoken at conferences around the world, and taught countless people how to build and maintain their sites.
I know its a jungle out there finding the right people for website development.
But I’m here to help.
Author Profile – Tony Cosentino


